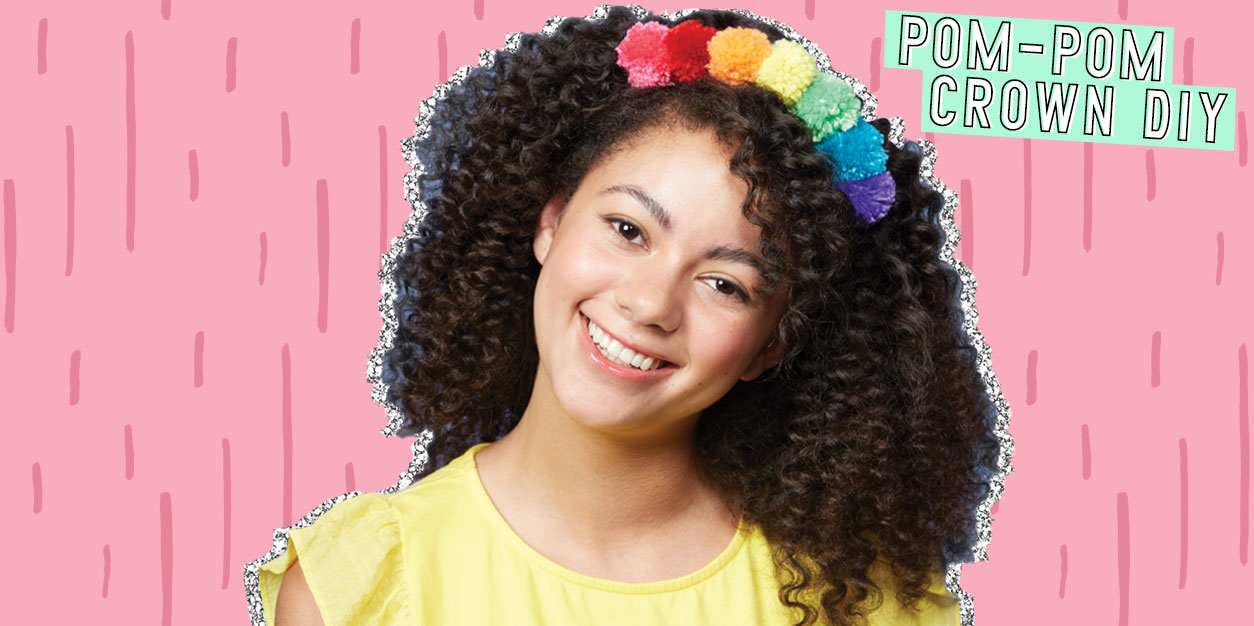
Celebrate Your Inner Queen with this Simple Pom-Pom Crown DIY
NOTE: This Pom-Pom Crown craft project is featured in the Klutz Make & Style Headbands kit. It has been republished on our website with permission.
March is National Craft Month AND Women’s History Month, which means it’s the perfect time to show the world what a crafty queen you truly are. That’s why we’ve collaborated with our friends at Klutz to show you how you can create your very own Pom-Pom Crown!
You can find this craft and lots of other amazing headband DIYs in the new Make & Style Headbands kit from Klutz. Each kit comes with tons of ideas and includes enough materials to make 10 different headband styles like beaded kitty ears, a flower crown, and more!
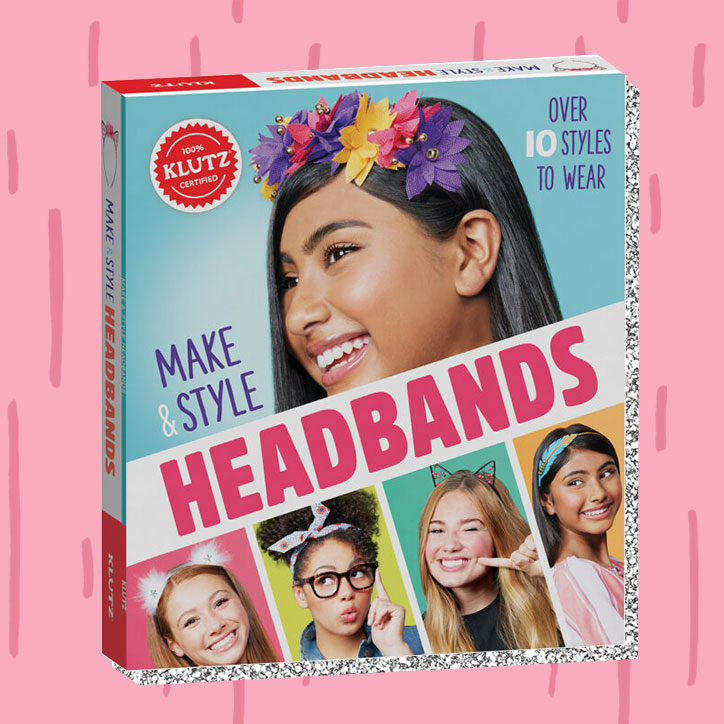
You’ll also find a few Craft Queen Challenges, which help you go beyond the kit and get creative with additional materials you can easily find at home. (Or at your local craft store!) We’re featuring one of these challenges today because there’s no better way to channel your inner queen than with a well-deserved crown.
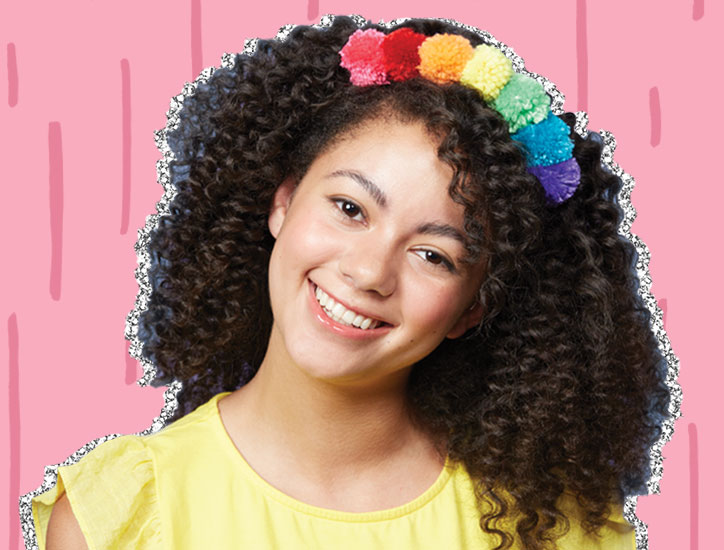
We love this Pom-Pom Crown craft because it’s easy to make, but even easier to customize. It’s all in the yarn colors you choose. You can go wild with rainbows, match your pom-poms to your Spring Fling dress, or even do an ombre fade. A little yarn goes a long way, making this headband a great choice for a craft night with your besties.
Ready to get started? Here’s how you can make your own Pom-Pom Crown!
How to Make a Pom-Pom Crown:
Want a bigger version of the craft instructions that you can save and print? Click here!
What You Need:
Yarn
Dinner Fork
Headband
Scissors
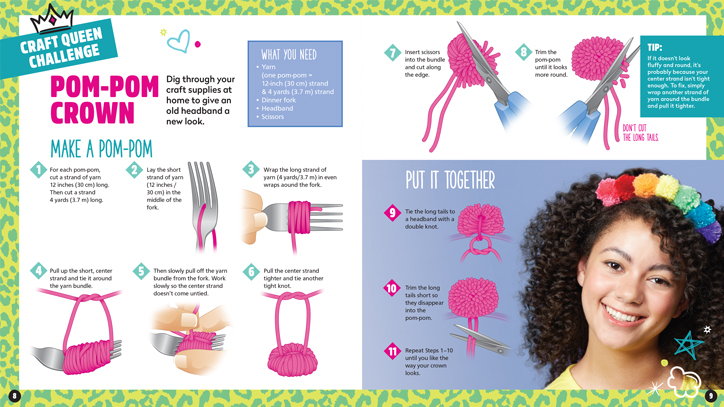
Make a Pom-Pom:
1. For each pom-pom, cut a strand of yarn 12 inches (30cm) long. Then cut a strand 4 yards (3.7m) long.
2. Lay the short strand of yarn (12 inches/30 cm) in the middle of the fork.
3. Wrap the long strand of yarn (4 yarn/3.7m) in even wraps around the fork.
4. Pull up the short, center strand and tie it around the yarn bundle.
5. Then slowly pull off the yarn bundle from the fork. Work slowly so the center strand doesn’t come untied.
6. Pull the center strand tighter and tie another tight knot.
7. Insert scissors into the bundle and cut along the edge.
8. Trim the pom-pom until it looks more round, avoiding the long tails.
TIP: If it doesn’t look fluffy and round, it’s probably because your center strand isn’t tight enough. To fix, simply wrap another strand of yarn around the bundle and pull it tighter.
Put it Together:
9. Tie the long tails to a headband with a double knot.
10. Trim the long tails short so they disappear into the pom-pom.
Repeat steps 1-10 to create more pom-poms until you like the way your crown looks!
Want to make even more amazing headbands? You can find lots of amazing projects in the Klutz Make & Style Headbands kit! We’re giving away the kit (as well as 4 other totally amazing Klutz kits) in our Craft Month Giveaway – click here to enter!