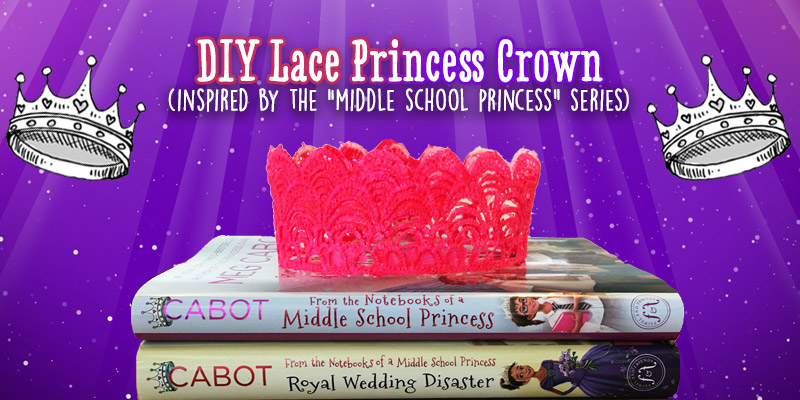
DIY Lace Princess Crown
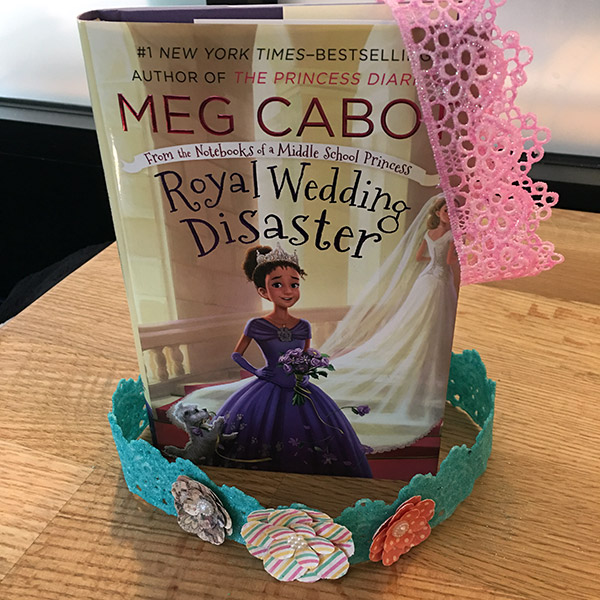
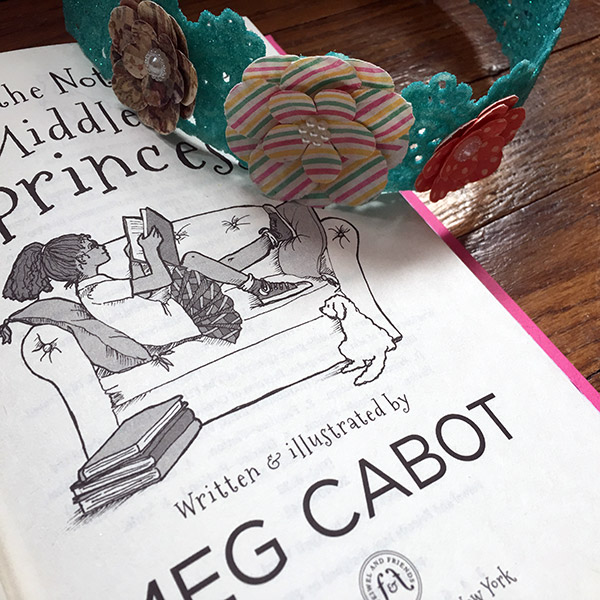
“Royal Wedding Disaster” by Meg Cabot just hit shelves last week, and it’s kind of amazing. For those of you not in the know – “Royal Wedding Disaster” is the second book in the “From the Notebooks of a Middle School Princess” series, which began last May.
The books are spin-off series of the ever fabulous “Princess Diaries” series, starring 12 year old Olivia Grace Clarisse Mignonette Harrison, an ordinary middle school girl who discovers she’s actually the long lost sister of Mia Thermopolis, Princess of Genovia.
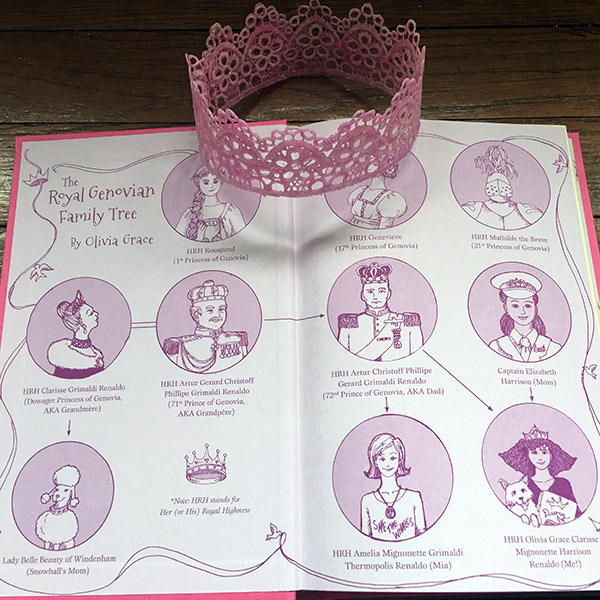
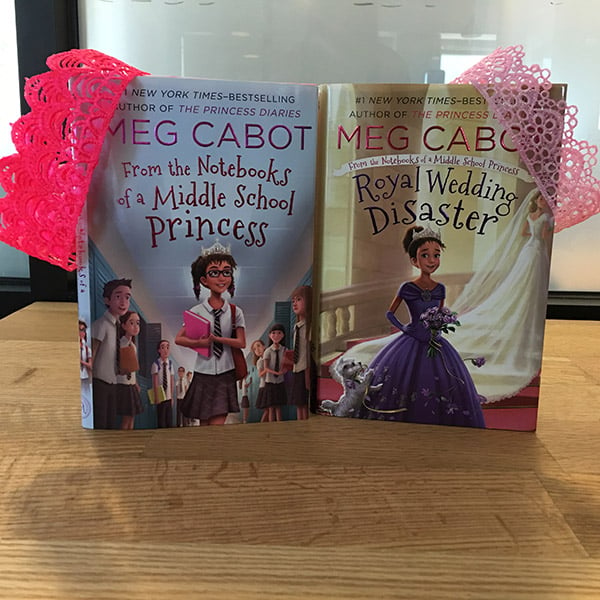
Book #1 sets up the story, giving us a glimpse into Olivia’s life pre-royalty as well as a peek into every girls’ dream – finding out you’re actually a princess.
Book #2, “Royal Wedding Disaster”, dives in to Olivia’s life as full-on royalty juggling the pros (having your own horse) and cons (being bombarded by jealous family members) of being a princess, all while trying to juggle the upcoming royal wedding that everyone in the family seems to have an opinion on, as well as attending a brand new school, and developing a new crush.
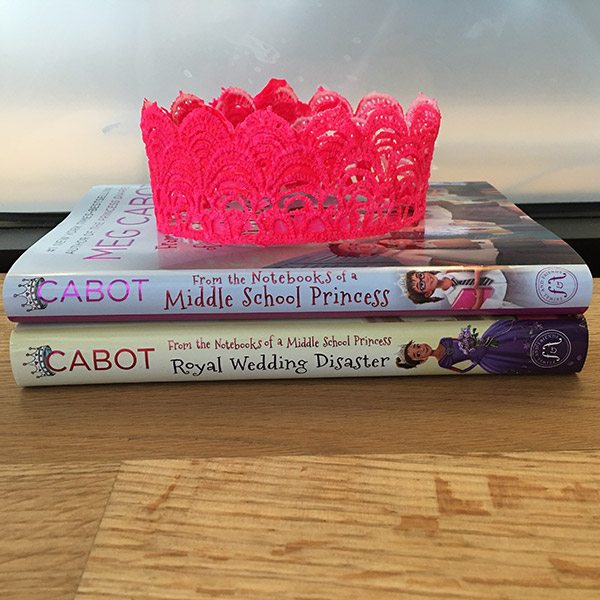
You’ll have to read the series to find out how it all goes down, but in the meantime, why not create a DIY Lace Princess Crown to wear while you read the book? The series inspired us to make this craft, as we couldn’t possibly read it without donning crowns and feeling like we were truly a part of Olivia’s royal life.
Here’s What You’ll Need:
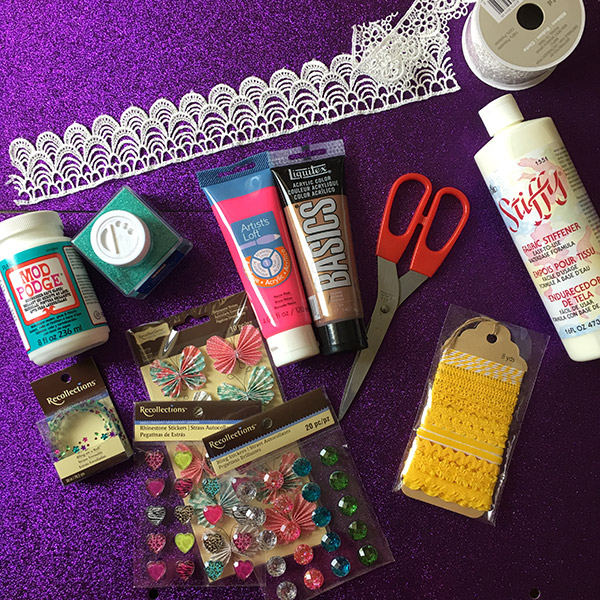
Crown Supplies:
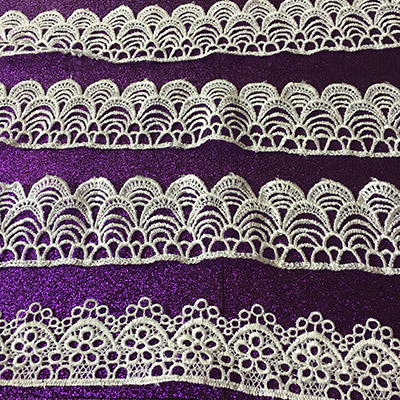
– Lace Trim – 2 to 4 inches wide (preferably one with an ornate trim that looks similar to the peaks on a crown or tiara, but feel free to use thinner/less ornate lace for more of a “halo”)
– Scissors
– Fabric Stiffener
– A wide plastic container or bowl
– Wax Paper
– A Hot Glue Gun (Tacky Glue will work in a pinch, we tried it, but Hot Glue is definitely best)
Decorative Supplies:
– Acrylic paint in your favorite royal color
– A paintbrush
– ModPodge
– Loose glitter (Fine glitter works best)
– Gems, decorative trim, or any other small decorations you’d like to add to your crown
How To Make Your Crown:
1. Pull out a strand of lace and wrap it around your head in the position you’d like to wear your crown. Make sure to leave a little extra room, since when you glue it together, you’ll need some room for overlap. If you prefer a crown that daintier and sits on top of your head with bobby pins (like the two pink ones we did), make sure to accommodate for that when measuring. Once you’re happy with the size, cut the lace.
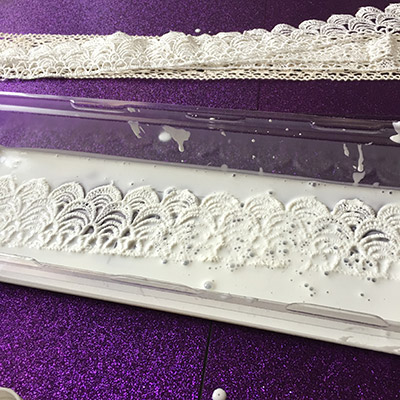
2. Pour a bit of the fabric stiffener into a container or bowl. Then, dip your lace strand into the liquid. You may want to wear gloves for this part. Once your lace piece is fully coated, gently run your fingers down it to get rid of some of the excess liquid. Then lay it down on the wax paper and leave it on a flat surface to dry. Then, whip out your copy of “Royal Wedding Disaster” to pass the time while you wait for your lace to dry!
We’ve read that on a nice warm day, it can take as a little as 20-30 minutes for the lace to harden and dry, but it took about 2 hours for ours. Just check in on it every now and then and see how it’s progressing, but be patient. You want it to be FULLY DRY before you move on to the decoration steps.
If you notice that little “windows” of fabric stiffener are forming between any holes in your lace, try flipping it over every now and then to make sure they don’t dry that way.
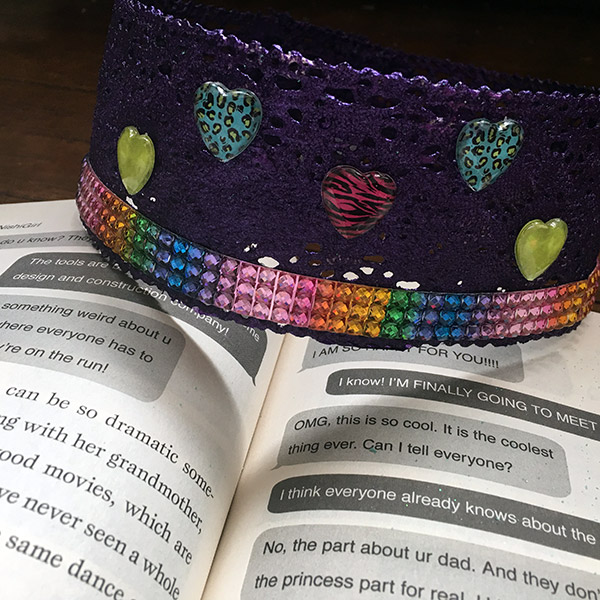
3. You can decorate your crowns however you’d like, but we did two different methods, painted and glittered. To make a crown that matches Olivia’s style in “Royal Wedding Disaster”, try a silver crown with purple decorations/trim to mimic her look on the cover of the book! Otherwise, feel free to pick and choose any colors you like best.
Paint Your Crown:
1. Grab your favorite color acrylic paint (we noticed that metallic or glittery shades add a great princess-y feel), and paint one entire side of the lace. Let it dry completely, and then flip it over and repeat on the other side.
2. Once it’s 100% painted and dry, you can add gems, trim, or any other decorations OR just hot glue the ends together (make sure to line up the lace pattern to complete your crown. Make sure you ask a parent for help with the hot glue gun, as hot glue CAN burn you, and it’s kind of horrible and burny and can really hurt you!
Note: To make sure your crown dries in a perfect circle, try letting it rest on a plastic soda bottle, take out container, or any other round object you have that can stand still and hold the shape of the crown without it falling.
Glitter Your Crown:
You can use this method without painting the crown first (see our teal crown), but it definitely looks better if you paint it first.
1. Make sure your painted lace is COMPLETELY DRY.
2. Using a paintbrush, coat one side of your lace strand in ModPodge. Make sure to not miss any spots, as this is what the glitter will stick to. If you miss a spot, the glitter won’t stick in that area.
3. Sprinkle a generous amount of glitter onto the now wet lace. Use more than you think you’ll need, you can always gather up the excess glitter later. (Fold up the wax paper to a point and then pour it back into the glitter container – Mom/Dad will probably be VERY happy if you ask for their help on that.) Pat the glitter down gently, and smooth it into any areas that remain uncovered. Leave this to dry, and catch up on your reading. Once it’s dry, repeat on the other side.
4. Once you’re 100% glittered, dry, and ready to go – add any other additional decorations OR hot glue the ends together to complete your crown.
Now that your crown is ready, don’t forget to pick up a copy of “Royal Wedding Disaster” or try another one of our DIY ideas! Also, stay tuned for our Olivia Grace inspired lookbook, coming soon.